X-Win32 Configuration for SPNP
This page is has been moved to the new
SoC Document Repository. The
new URL for this page is:
https://docs.comp.nus.edu.sg/node/1623
Any SSH client and X-Win32 (Version 4 and above) will work.
This example uses X-Win32 Version 5.3 and SSH Secure Shell Version 3.2.0
Installing & Configuring X-Win32
- Download and install X-Win32, the instructions for doing it is available
here.
- After installing, start X-Config to configure the settings.
-
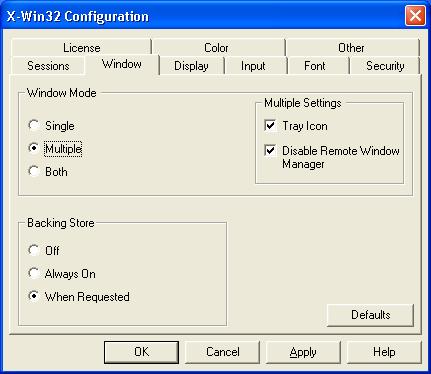
Click on the Window tab, set Window Mode to Multiple.
-
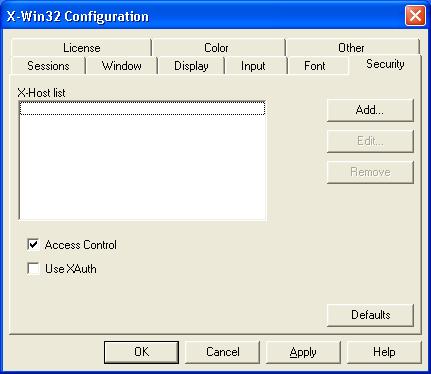
Click on the Security tab, make sure Access Control is checked.
- Click OK to continue.
Installing & Configuring SSH Secure Shell
-
Download SSH Secure Shell client ftp://ftp.comp.nus.edu.sg/PC/win95/ssh2/
The file to download is SSHSecureShellClient-3.2.0.exe. If there is a new version, it should be apparent.
-
Install the program by clicking on the file you just downloaded. The
installation process is a breeze, you can just use the default settings.
-
After the installation, you will see the SSH Secure Shell Client and the SSH
Secure Shell Transfer Client. The secure file transfer currently
supported by our unix clients.
-
If you have previously installed the older versions of SSH Secure Shell Client,
you may have a license.dat file in its program directory.
You can safely remove this file. The software will then run in non-commercial mode.
-
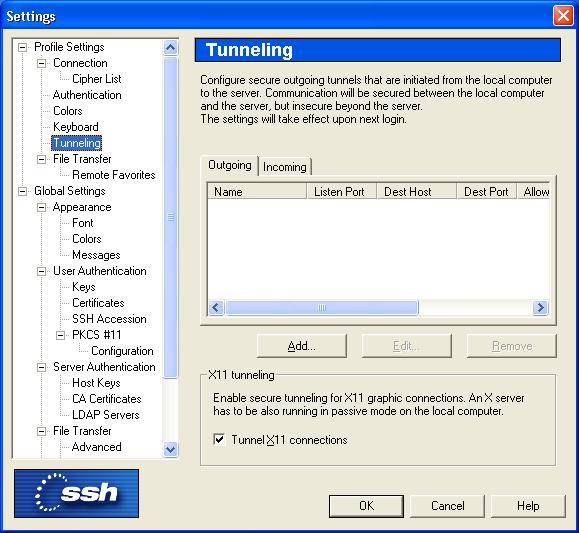
Launch SSH Secure Shell program, go to Edit then Settings, click on the Tunneling option in the Settings dialog box
and check "Tunnel X11 connections". Click OK to save settings.
-
Click on File and Save Settings.
Using X-Win32 with SSH Secure Shell
-
Start your X-Win32 program
-
Start the SSH Secure Shell program if you haven't done so. You will want to start your X-win32 first, then run the
SSH Secure Shell program.
- Click on "Quick Connect". At the next dialog box, enter the host that you want to connect to (e.g. suna.comp.nus.edu.sg)
and your unix username.
-
Enter your unix password at the password prompt.
-
Once you have logged in, you are ready to start running your X applications
-
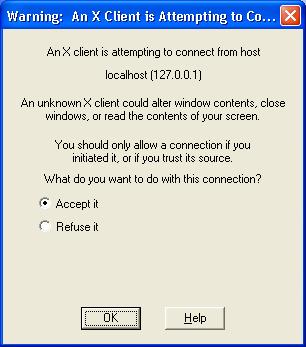
Run "xclock" to verify that the X client can connect to remote host. There will be a warning that an X-client is attempting
to connect from host "localhost(127.0.0.1)". Click OK to accept the connection.
If the xclock appears (see picture below), then you have successfully configured the SSH Secure Shell and X-win32.

|